Specialty inks and materials can help you provide extra value to your customers and to your business as a whole.
With excellent durability, crystalina ink produces high-gloss and subtly hued sparkle effects that can be printed over any one-color design to give it a unique look. Another specialty material to consider using is foils.
Available in large roll sizes, foils can help give your design an extra level of detail. Below are some practical uses and tips for working with foils and glitter inks.
Foils
If you've ever used foils before, you'd know how fun it is to peel the foil off that shirt you just pressed to reveal all the hard work you put in. The process for using foils on your prints is pretty straightforward and you really only need a few special pieces of equipment in addition to your usual printing setup.
Typically, you'll need a good heat press and teflon sheet, foil adhesive (to add to your conventional plastisol ink) printed through 86-110 mesh screens, and of course, the foil. Here at Texsource, we carry a large selection of foils to use for those special requests in several categories including colors, metallics, patterns and holographic foils. Most of our foils come in 25" by 200' rolls at the best pricing of any supplier. Here are a few tips when working with foils.
1. Be sure you re putting down enough adhesive on your garment. This should be an obvious consideration, but you d be surprised to find out what a difference in having the right amount of adhesive on your shirt will make on the end result. Take the time to ensure a nice, even layer of foil adhesive is applied to your shirt. Matsui sells an excellent foil adhesive (TFG 301) with fantastic adhesion qualities. It s easy to mix and print and can be tinted with Neo Pigments if necessary, to match embellishment color. It also has excellent printability with virtually no difference in viscosity. You will want to use a 110 mesh count screen when working with this foil adhesive.
2. Make sure your heat press is applying enough pressure. Also keep in mind the temperature that your press is set to. The optimal range for pressing the foil is between 330°-350°F. You will only want to press for 8-20 seconds at 30-50 PSI.
3. Allow your foil to cool properly before peeling off. Proper application of the foil adhesive is important, but not allowing your foil to cool evenly before peeling it off can cause it to rip or not come clean off your print. All heat presses use different settings, so be sure to refer to the manufacturers best practices.
Glitter Inks
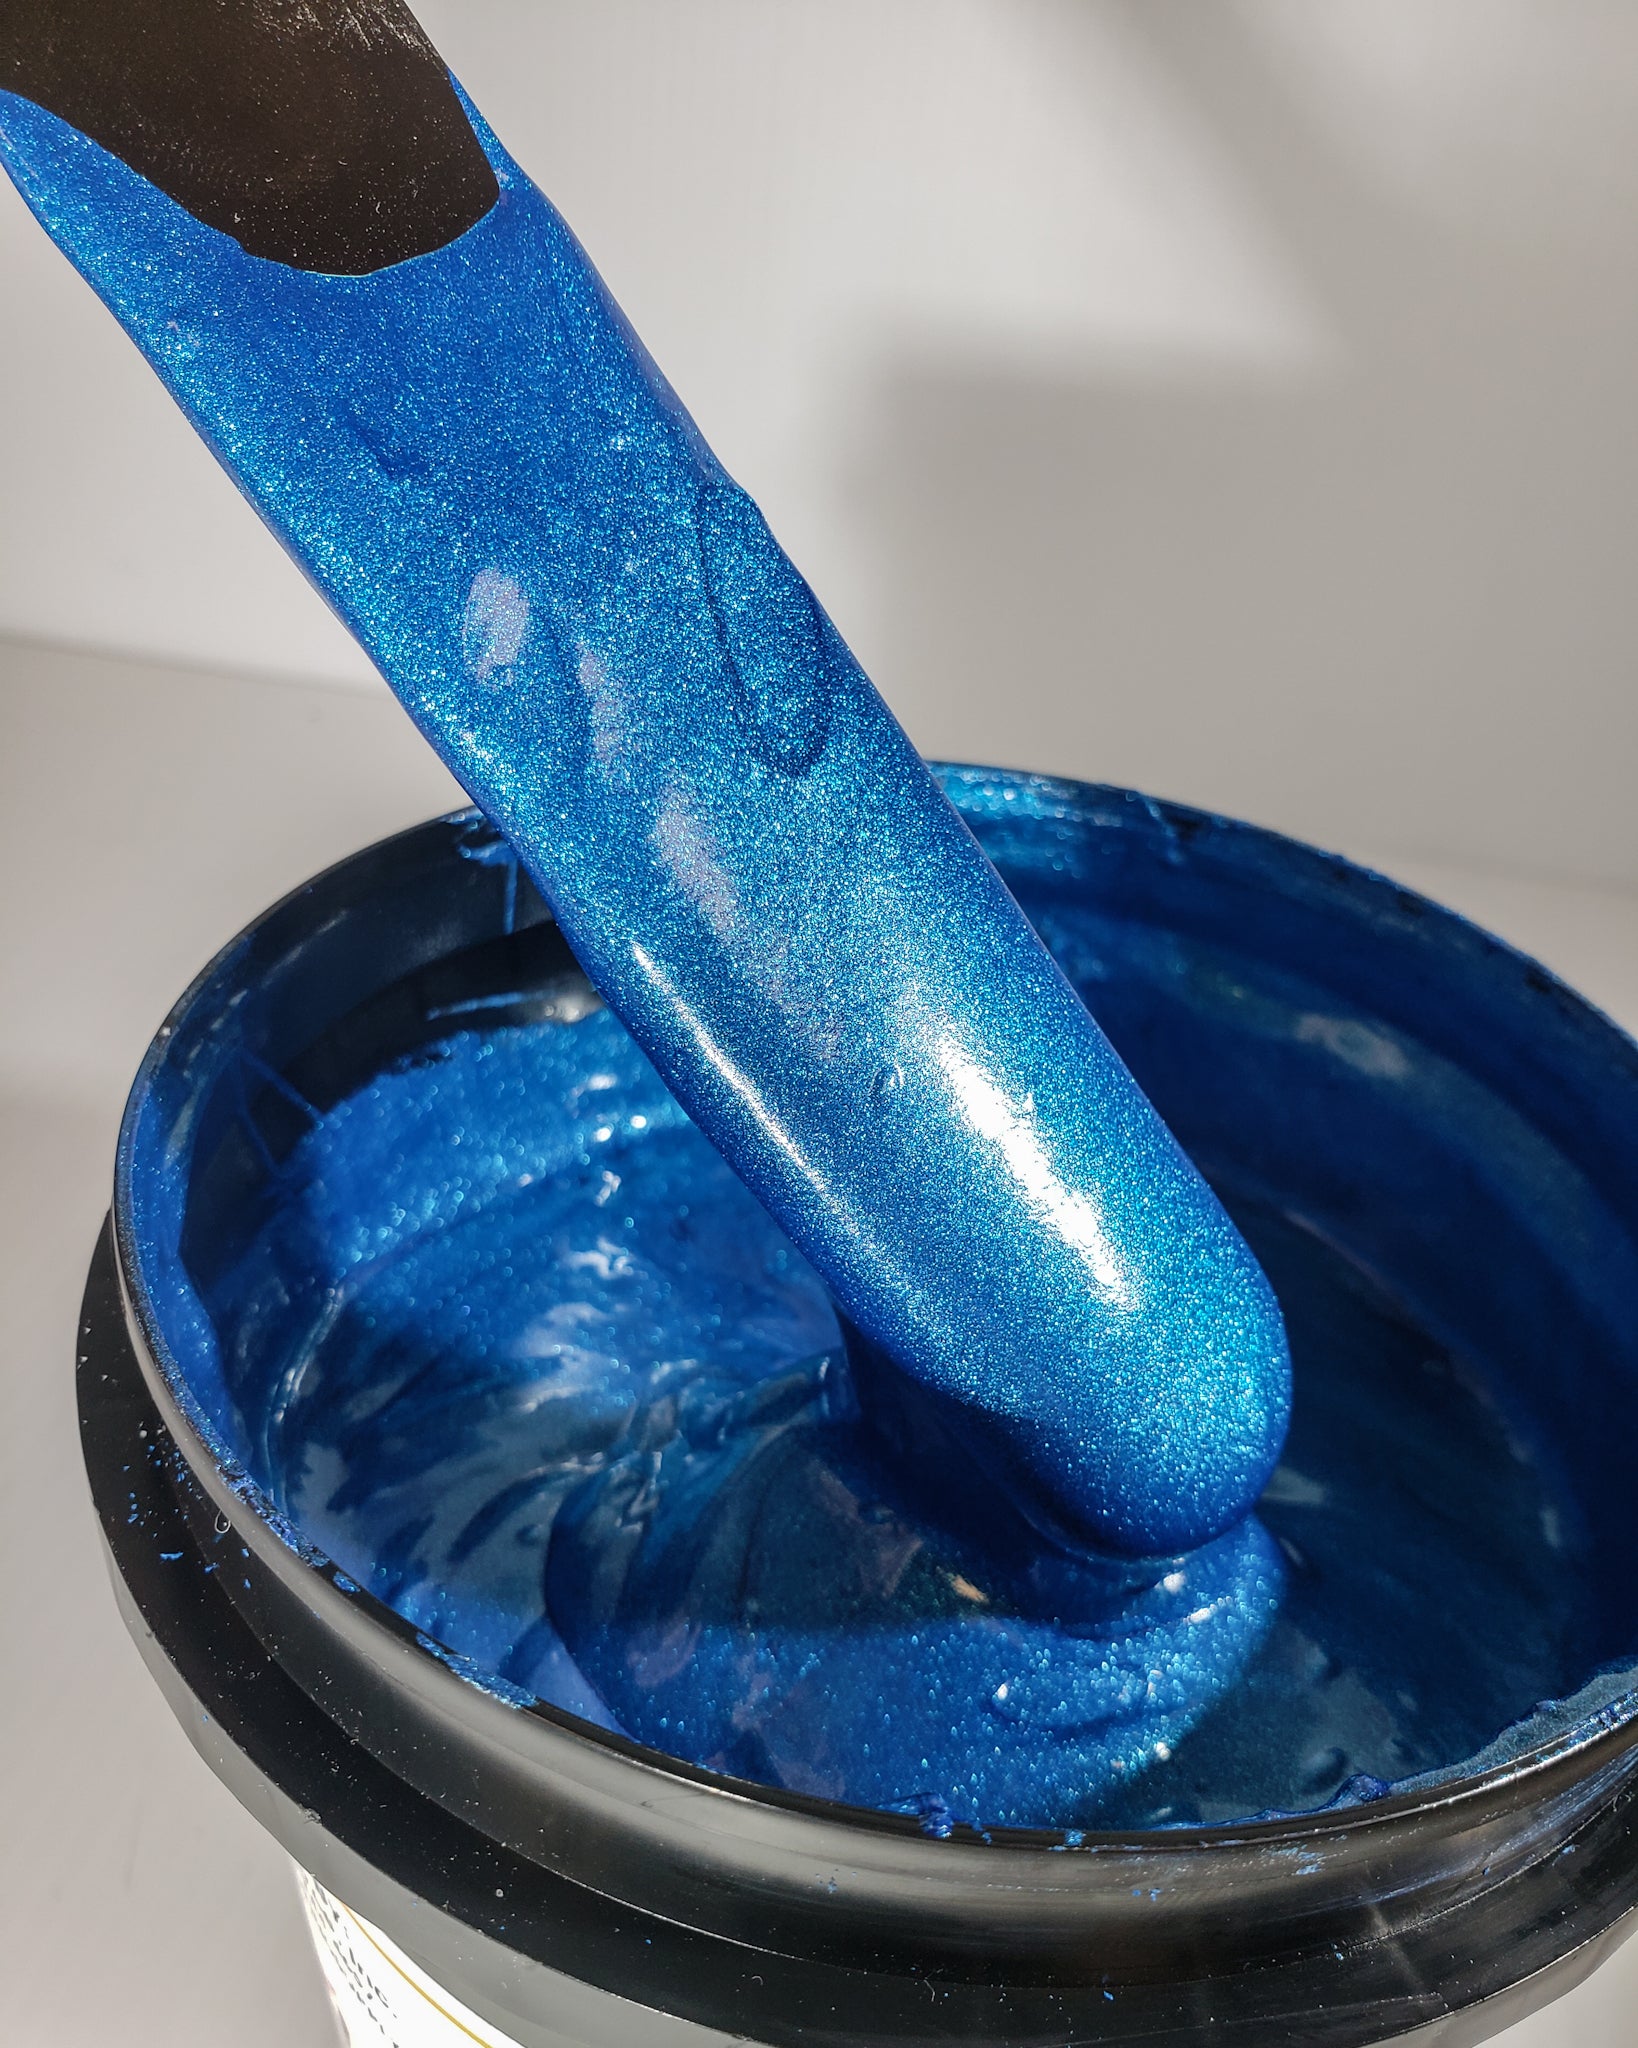
Using glitter or shimmer inks is another great way to add value and detail for your customers. Commonly referred to as metal flake inks, metallic inks or crystalina inks, the glitter used in these are measured in hex, referring to the different sizes of flakes. A larger flake will catch more light and create a shinier effect. The size of flake you use will be determined by the design you want to print. If you go with a larger flake, you re going to need a screen with a lower mesh count. For glitter, use a 40 mesh count; for metallics use a 60 mesh count; for shimmers use an 86 mesh count and for crystalina use a 40 mesh count. Here are some helpful tips when working with glitter/shimmer inks.
1. When using lower mesh count screens, use an emulsion that dries and exposes quickly. Even though you'll have to work faster, you ll need more to properly coat the coarse screen and get even coverage.
2. Use a softer squeegee when printing glitter/shimmer inks. This will make it easier to push the ink through the screen. Go with a 65 durometer squeegee to start.
3. For a more opaque finish when using glitter/shimmer inks, use an ink that keeps the glitter on top of the print versus it being embedded in the ink; this causes the base to absorb into the fabric when cured, keeping the fabric from showing through.
4. To achieve a glossier look, print one layer and flash so it absorbs into the fabric, then print another layer on top. Although this will produce a thicker hand, the glossiness will add a nice touch.
5. Print layers of metallic ink last in order of printing. Or immediately before flashing. The deposits are thicker than standard ink and therefore can cause problems if not handled last in a wet on wet sequence.
Be sure to test a new ink thoroughly before you begin production so you can have a better idea of how it will perform over time. We hope these tips on working with foils and glitter inks give you more confidence to help your customers stand out from the crowd.
Click
here to view all of the heat transfer products we have available.


Leave a comment